Tutorial: Create your own models
Home > Tutorial: Create your own models
How to create your own models for Empires
Step 1. Setup
Set up a folder to place your projectfiles and materials. I used VTFEdit and converted the .VTF 's to TGA 's, because your model editor don't know the VTF format. Make sure you used the same filenames (except the ending, like .TGA ).
Step 2. Create your model
You can use any modeleditors like
- 3D Studio Max
- XSI
- Milkshape
- Misfit Model 3D
but you need to convert your model to a smd file at the end.
Texture your model and save it as smd-file.
Step 3. Prepare for compiling
 |
| ||
 |
| ||
 |
| ||||
example content of Empires.qc
$modelname nf\buildings\radar\nf_radar.mdl
$cdmaterials nf\buildings
$staticprop
$scale 10.0
$body studio "nf_radar.smd"
$sequence idle "nf_radar.smd" fps 30
$collisionmodel "nf_radar.smd" {
$Mass 20
}
explanation of Empires.qc
$modelname is the path and name of your model as mdl. The model nf_radar.mdl will be placed in \Empires\nf\buildings\radar\nf_radar.mdl after compiling.
$cdmaterials is the path to your materials (VTF 's). Here it's \Empires\nf\buildings.
$scale Scales your model by this factor.
$body main-smd
$sequence smd with animation
$collisionmodel smd file with a collisionmodel
Step 4. Compile your model
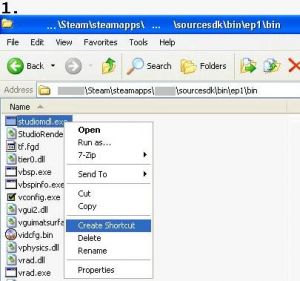
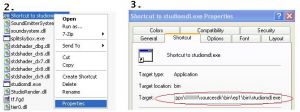
Execute your created shortcut to studiomdl. studiomdl will compile your smdfile to mdl format and place it in the specified folder.


