Flag Maps
Home > Flag Maps
This tutorial is intended to teach you how to make the flag style maps as seen in escort and district.
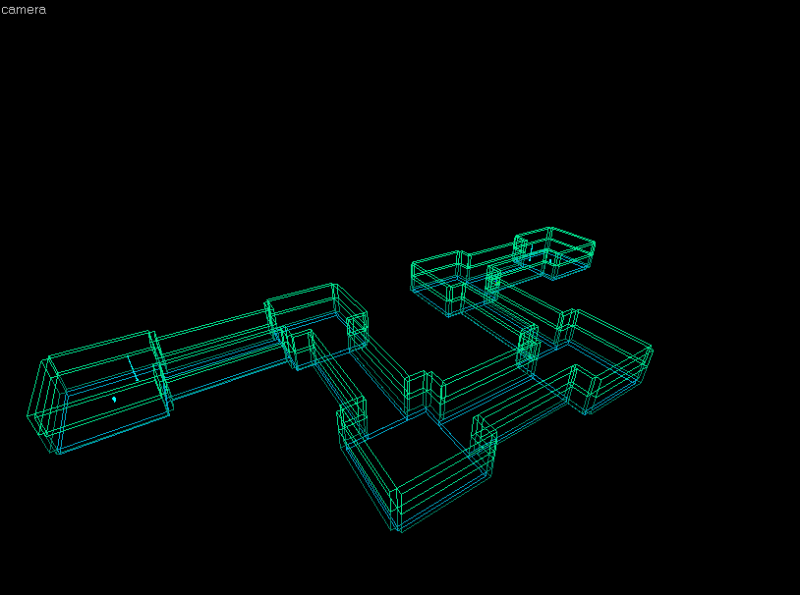
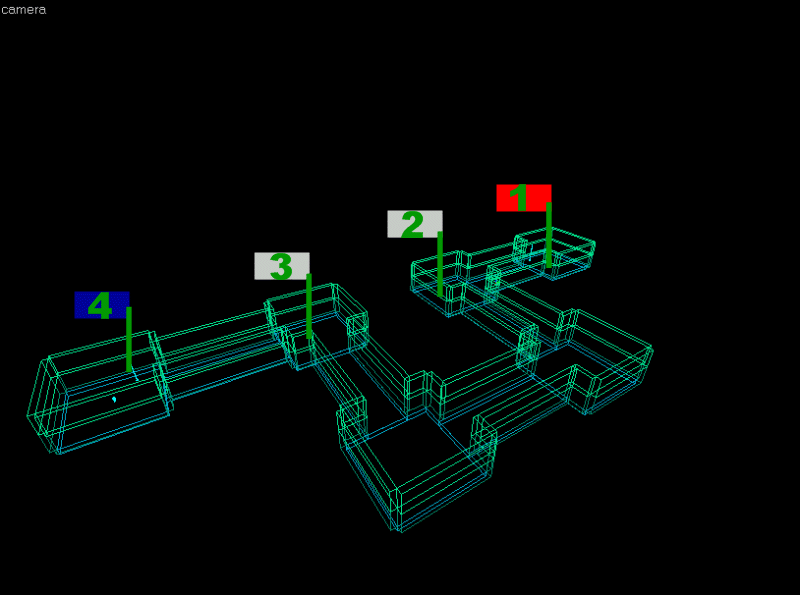
1. To start off you should build the area you would like the battle to take place in. Here's mine in 3D wireframe its very simple for the sake of this tutorial.
2. You must then plan where the capture flags will be. (blue is Brenodi, grey is neutral and red is NF)After doing this you must number each flag. 1 must always be the first Northen Faction flag and the highest number must always be the first Brenodi flag.
(notice that 4 is the highest number brenodi starts here and that 1 is the lowest number NF starts here)
3. Next you will want to place these flags on your map. To do this first you will need to go to entities on the righthand side of hammer and select 'emp_resource_point_prop' and place it on your map in the 3D view.
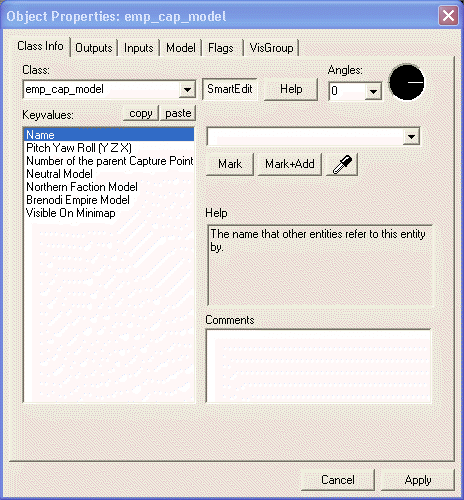
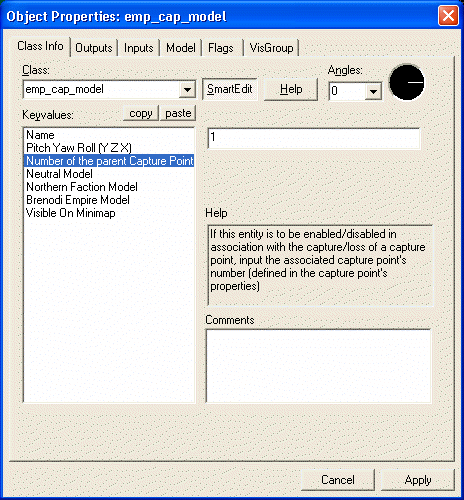
4. For my map i need 4 flags as shown in my plan so before i shift+drag the first 'emp_cap_model' i made 3 times i will set it up properly. Bring up the object properties of 'emp_cap_model' the only things that are not set up by default are the Brenodi and NF models. For this tutorial we will just use the flag pole models. So make northen faction model 'models/common/props_system/flagpole01_nf.mdl' And the brenodi model 'models/common/props_system/flagpole01_imp.mdl' Leave everything else the same for the time being.
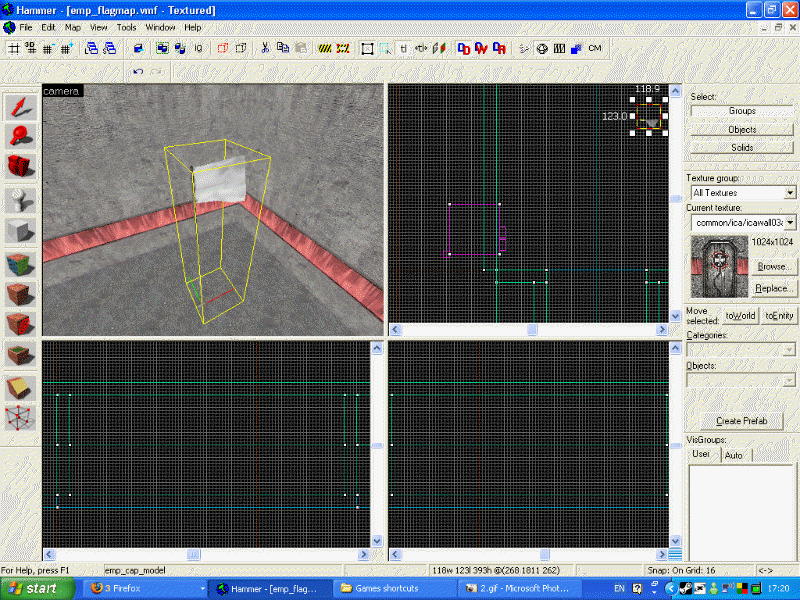
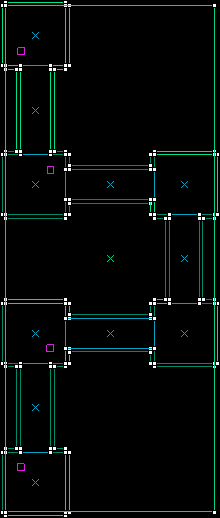
5. The next step is to shift+drag the 'emp_cap_model' so for my map i need to do this 3 times. The below image is a 2D wireframe view. All the purple boxes are flags.
6. You must now number your flags by bringing up the object properties of each individual 'emp_cap_model' and changing number of the parent capture point. (remember-1 is always NF, highest number is always brenodi)
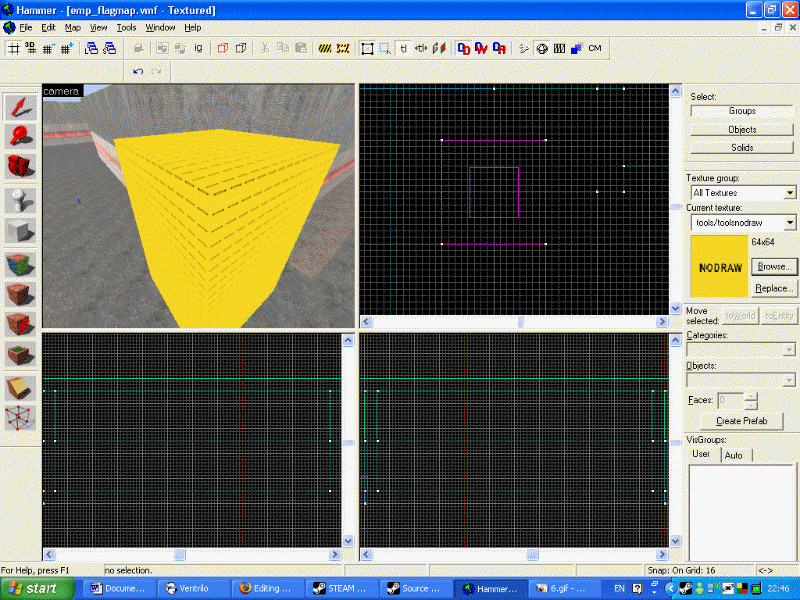
7. Now you are ready to create the 'emp_cap_point' this is a brush based entity which activates when a player steps into it. So first you need to click the block tool, drag a box around the area that a player can capture a point. (mine will be just bigger than the flag)You must then change the texture of this modle to 'nodraw'. This texture does exactly what it says on the tin - it creates a object which is not drawn.
8. You must now change this brush into a entity. To do this simply click on the brush and then with your keyboard press 'ctrl+t'. This will have brought up the object properties menu. Change the class to a 'emp_cap_point'
